Watercolor painting is known for its fluidity, transparency, and the stunning visual effects it can create. Once you’ve mastered the basics, it’s time to explore advanced watercolor painting techniques that can elevate your artwork to the next level. In this guide, we’ll dive into a range of techniques that will help you create dynamic, visually captivating pieces and push the boundaries of traditional watercolor.

Table of Contents
ToggleKey Highlights
- Introduction to Advanced Watercolor Techniques: Why push beyond the basics.
- Key Techniques: Exploring sophisticated methods to enhance your watercolor skills.
- Tools and Materials: Essential supplies for advanced watercolor techniques.
- Practical Tips: How to make the most of each technique.
- Common Challenges: Troubleshooting and avoiding common mistakes.
1. Introduction to Advanced Watercolor Techniques: Elevating Your Art
Watercolor is a medium that’s easy to learn but difficult to master. While basic techniques are crucial for building a strong foundation, advanced methods allow you to experiment and express your creativity. From dramatic textures to bold color transitions, advanced techniques will help you achieve stunning visual effects that make your paintings stand out.
Why Experiment with Advanced Techniques?
- Achieve Greater Depth: Create more detailed and intricate designs.
- Expand Your Creative Expression: Explore new styles and methods to find your artistic voice.
- Refine Your Skills: Challenge yourself to develop control and precision in your brushwork.
2. Key Techniques: Mastering Advanced Watercolor Skills
Here are some advanced watercolor techniques that will transform your paintings and add a layer of complexity to your work:
Wet-on-Wet Gradients
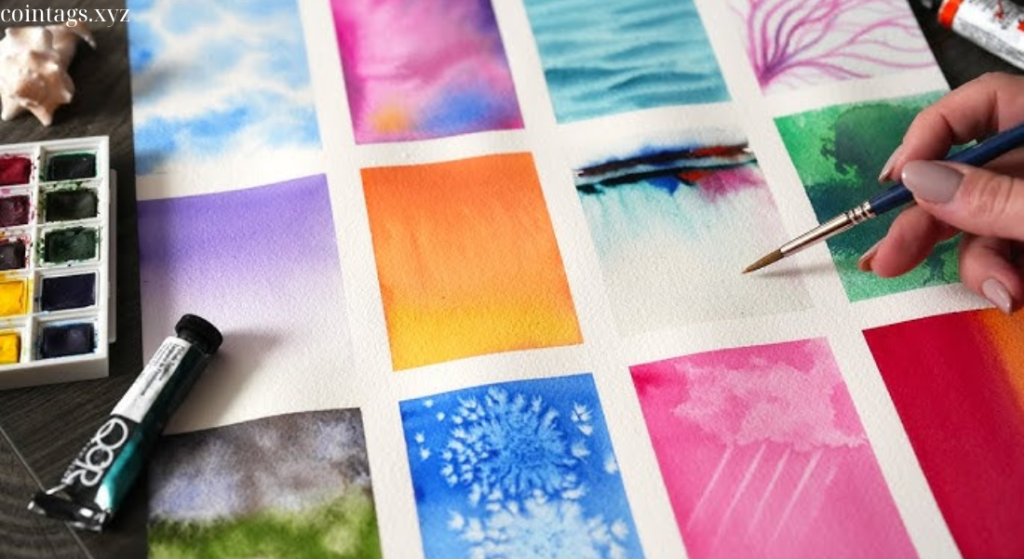
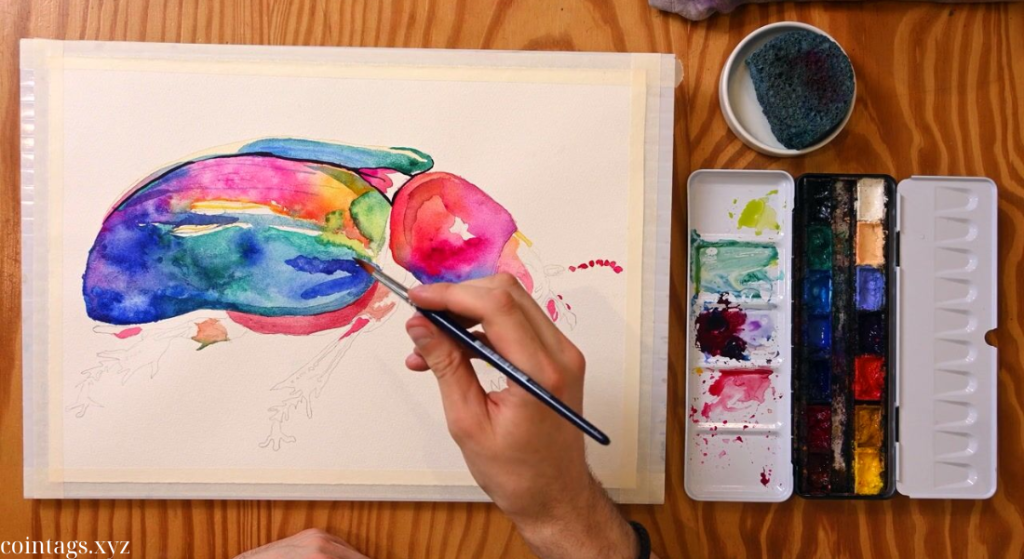
Wet-on-wet involves applying wet paint to a wet surface, creating soft and seamless color transitions. Advanced wet-on-wet gradients require careful control over water and pigment, allowing you to blend colors smoothly without harsh lines.
- How to Use It: Use a clean, wet brush to dampen the paper before applying color. Start with light washes and gradually layer darker tones for depth.
- Best For: Sky scenes, water reflections, and dreamy landscapes.
- Pro Tip: Experiment with tilting the paper to control the flow of pigment and create natural-looking gradients.
Layering (Glazing)
Layering involves applying transparent washes of color over dried layers. This technique allows you to build depth, create shadows, and intensify colors without muddying them.
- How to Use It: Apply a wash of color and let it dry completely. Add more layers gradually, allowing each to dry before the next.
- Best For: Portraits, realistic details, and adding depth to objects.
- Pro Tip: Use high-quality, transparent pigments to prevent colors from becoming opaque or dull.
Dry Brush Technique
The dry brush technique is perfect for creating texture and adding fine details. It involves using a minimal amount of water with a lightly loaded brush, allowing the texture of the paper to show through.
- How to Use It: Dip your brush in paint, blot off excess water, and lightly drag it across the paper.
- Best For: Rough textures like bark, grass, and fur.
- Pro Tip: Experiment with different brush types for varied effects—stiffer brushes provide more texture, while softer brushes offer subtler detail.
Salt Texture
Adding salt to wet watercolor creates a fascinating, textured pattern as the salt absorbs the pigment. This technique is excellent for achieving organic textures, such as sand, snow, or starry skies.
- How to Use It: Sprinkle coarse salt onto a wet wash of color and let it dry completely. Brush off the salt to reveal the textured pattern.
- Best For: Backgrounds, galaxies, and textured landscapes.
- Pro Tip: Experiment with different salt grains (fine or coarse) to see how each affects the texture.
Lifting Technique
Lifting involves removing paint from the paper to create highlights or correct mistakes. Advanced lifting requires control and a good understanding of the paint’s absorbency and drying time.
- How to Use It: Use a clean, damp brush or paper towel to lift wet or semi-dry paint. For dried paint, gently scrub the area with a damp brush.
- Best For: Creating highlights, light reflections, and fixing mistakes.
- Pro Tip: Use a natural sponge for a softer, more natural lifting effect.
Negative Painting
Negative painting is the art of painting around the subject to highlight it rather than painting the subject itself. It requires a strategic approach and is excellent for creating depth and dimension.
- How to Use It: Paint the areas surrounding your subject with darker tones, leaving the subject lighter to make it stand out.
- Best For: Leaves, flowers, and objects with intricate shapes.
- Pro Tip: Start with light washes and build up darker tones gradually to avoid overworking the paper.
Splattering
Splattering is a fun and dynamic way to add texture and movement to a painting. It involves flicking paint onto the paper to create random splashes or controlled patterns.
- How to Use It: Load a brush with watery paint and flick it towards the paper using your finger or another brush.
- Best For: Starry skies, ocean waves, and abstract backgrounds.
- Pro Tip: Cover areas you don’t want splattered with masking tape or paper to keep the effect controlled.
3. Tools and Materials: Essential Supplies for Advanced Watercolor Techniques
To execute advanced watercolor techniques, you’ll need high-quality tools and materials. Here’s what to include in your setup:
- Professional-Grade Watercolors: Invest in artist-quality paints for better pigment saturation and transparency.
- Various Brushes: Include round brushes for detail, flat brushes for washes, and fan brushes for textures.
- Watercolor Paper: Use heavy, cold-pressed or rough paper for techniques that require texture and absorbency.
- Masking Fluid: Helps protect areas you want to keep white or untouched.
- Salt, Sponges, and Other Textural Tools: Great for creating unique effects and textures.
4. Practical Tips: Mastering Each Technique for Stunning Results
To get the best results from advanced watercolor techniques, practice and patience are key. Here are some tips for mastering these skills:
Control Your Water
Water control is crucial in advanced watercolor painting. Too much water can dilute colors, while too little can make it difficult to blend. Practice adjusting the water-to-paint ratio to achieve the desired effect.
Experiment with Different Papers
Each type of watercolor paper interacts differently with paint and techniques. Experiment with cold-pressed, hot-pressed, and rough papers to find the one that suits your style.
Use Quality Paints
High-quality pigments provide better color payoff, transparency, and blending ability. Invest in artist-grade paints for the best results, especially when working with advanced techniques.
Don’t Rush the Drying Process
Allow each layer to dry fully before applying the next to avoid muddying colors. Use a hairdryer for faster drying, but be cautious not to overheat or warp the paper.
5. Common Challenges: Troubleshooting and Avoiding Mistakes
Advanced watercolor techniques can be challenging, and mistakes are part of the learning process. Here are some common pitfalls and how to avoid them:
Overworking the Paper
Applying too many layers or scrubbing the paper can cause damage. Be gentle, and know when to stop to preserve the integrity of the paper.
Colors Becoming Muddy
Mixing too many colors or applying wet paint over wet areas can lead to muddy results. Allow layers to dry and use a limited palette to keep colors vibrant.
Uneven Washes
Uneven washes can occur if you don’t work quickly enough. Keep your brush moving and use enough water to achieve a smooth gradient.
Conclusion
Mastering advanced watercolor painting techniques opens up a world of possibilities for creating stunning visual effects. Whether you’re experimenting with negative painting, playing with textures using salt, or refining your wet-on-wet gradients, these methods allow you to express your creativity with greater depth and precision. By understanding the nuances of each technique, investing in quality materials, and practicing regularly, you’ll take your watercolor skills beyond the basics and create artwork that truly stands out.
FAQ
What are the best techniques for adding texture to watercolor paintings?
Try using the dry brush, salt, and splattering techniques to create a range of textures and visual interest.
How can I prevent my watercolor layers from becoming muddy?
Use a limited color palette, let each layer dry completely, and avoid overmixing colors on the paper.
What tools are essential for advanced watercolor techniques?
High-quality paints, a variety of brushes, watercolor paper, masking fluid, and tools like sponges and salt are essential for advanced techniques.
How can I improve my water control in watercolor painting?
Practice adjusting the water-to-paint ratio and experiment with different brush strokes to get comfortable with water control.
What is the best way to create a soft gradient in watercolor?
Use the wet-on-wet technique for seamless gradients, starting with a light wash and gradually layering darker colors as needed.

